


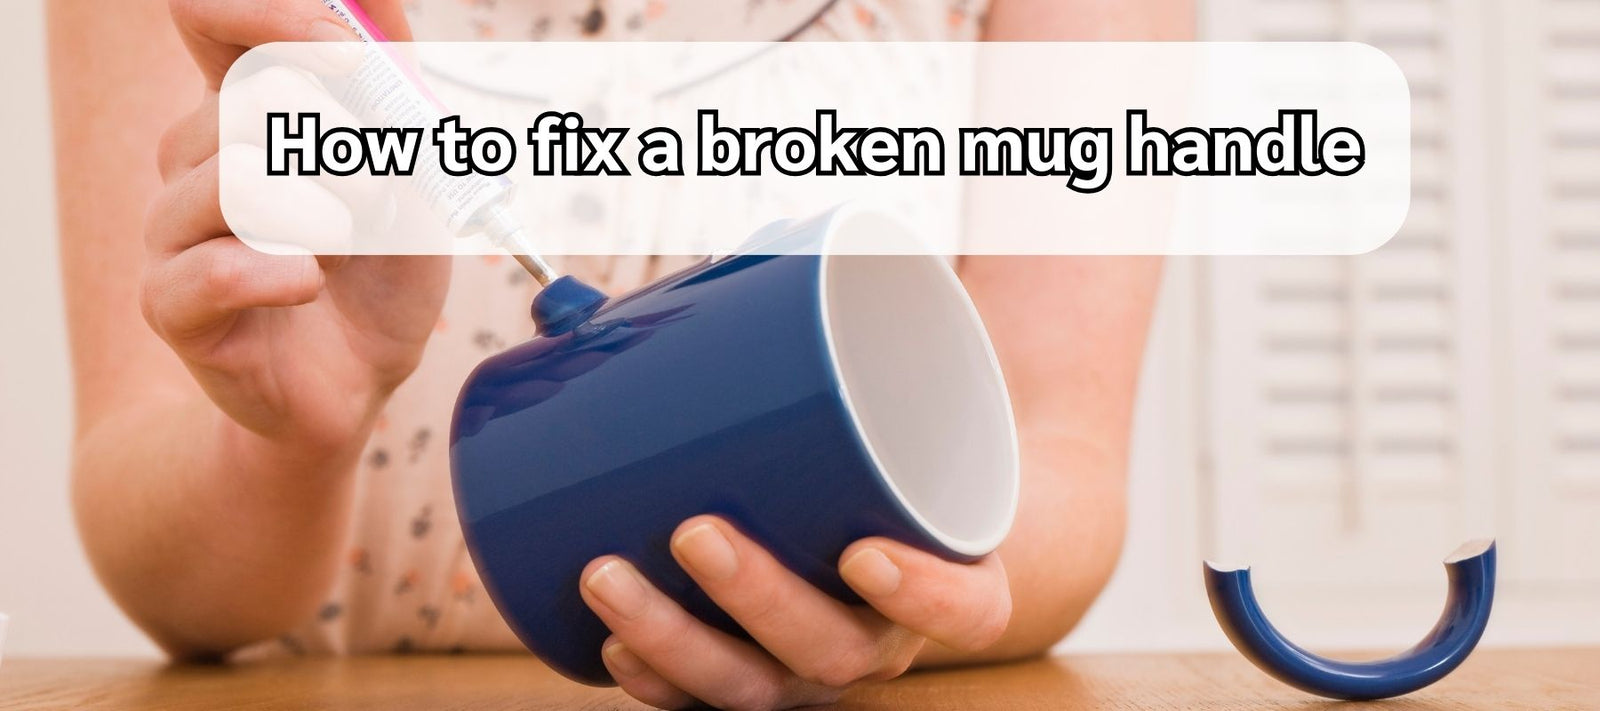

Did you reach for your favourite mug only to have the handle snap off? Don't worry, fixing a broken mug handle is easier than you think. Learn how to fix a broken mug handle by following a few easy steps. We'll instruct you how to use super glue for quick repairs, or get creative with wire or twine for a unique look. For stronger fixes, try the soldering method.
This guide is perfect for anyone looking to save their hand-painted mugs with broken handles or everyday coffee cups with cracks. With the right tools and techniques, your favorite mugs can be restored to their former glory.
Use the Super Glue
Glue is the top choice for fixing a mug's handle quickly and affordably. Strong adhesives like epoxy or super glue form a solid bond. They easily put ceramic parts back together. This makes them ideal for handle repairs that last.
Materials Needed
-
Quality Adhesive: A strong glue suitable for ceramics, such as epoxy or superglue. Epoxy is often preferred for its strength and durability.
-
Clamps or Tape: To hold the handle in place while the glue dries.
-
Clean Cloth: For wiping any excess glue.
-
Acetone or Nail Polish Remover: This is optional, for cleaning up any adhesive residue.
-
Protective Gloves: To keep your hands safe from the glue.

Use super glue to fix the mug's handle
Instructions
-
Clean the Broken Edges: Start by cleaning the broken edges of the mug and the handle. Remove any old glue if present. A clean surface ensures better adhesion.
-
Apply the Glue: Wearing gloves, apply a thin layer of glue to one of the broken edges. Be careful not to use too much, as it can ooze out and make a mess.
-
Attach the Handle: Carefully align the handle with the breakpoint on the mug. Press firmly to ensure good contact.
-
Secure the Handle: Use clamps or tape to hold the handle in place. Make sure it's positioned correctly and securely.
-
Let it Dry: Follow the glue manufacturer's instructions for drying time. Typically, it's best to leave it undisturbed for at least 24 hours.
-
Clean Up: After the glue has dried, remove any clamps or tape. Wipe away any excess or spilled glue with a cloth dampened with acetone or nail polish remover.

Apply the glue to attach the handle
Tips for Success
-
Choose the Right Glue: Not all adhesives are suitable for ceramics. Make sure the glue you choose is specifically designed for ceramic or porcelain repair.
-
Be Patient: Don’t rush the drying process. The full strength of the glue is achieved only after it has completely dried.
-
Handle with Care: Even after repair, treat the mug gently, especially if it's used for hot beverages. The repaired handle may not withstand extreme temperatures or rough handling.
-
Consider the Mug’s Use: If the mug is a decorative piece, a standard glue repair is fine. However, for a mug that will be used for drinking, consider food safety. Some glues are not safe for items that will be in contact with food or drink.
Use the Wire or Twine
Using wire or twine to fix a mug's handle is an excellent choice for a more creative and decorative repair, especially when traditional adhesives are insufficient. This method not only provides additional structural support to the handle but also adds a unique, artistic touch to the mug, transforming a simple fix into a personalized mugs style statement.
Materials Needed
-
Flexible Wire or Twine: Choose a sturdy yet flexible material that can be easily wrapped around the handle.
-
Pliers: To help shape and cut the wire.
-
Scissors: For cutting twine.
-
Epoxy Glue (optional): To add extra strength to the bond.
-
Gloves: To protect your hands while working.
Instructions
-
Prepare the Handle and Mug: Ensure the broken edges of the mug and handle are clean. If you're using glue, apply it to the broken edges and attach the handle to the mug, then let it dry completely.
-
Cut the Wire or Twine: Measure and cut the length of wire or twine. It should be long enough to wrap around the handle and mug several times.
-
Start Wrapping: Begin at the bottom of the handle, wrapping the wire or twine tightly and evenly. If you're using wire, use pliers to twist and secure it in place. For twine, a simple knot may suffice.
-
Cover the Break Area Thoroughly: Make sure to cover the area where the handle joins the mug, as this is the weakest point. The goal is to provide additional support to the glued area.
-
Finish Off Securely: Once you've wrapped the handle sufficiently, cut off the excess wire or twine and secure the end. If using wire, bend the end so there are no sharp points.
Tips for Success
-
Be Creative: This method allows for creativity. You can create patterns or designs with the wire or twine for a unique look.
-
Use Enough Material: Ensure you use enough wire or twine to provide adequate support to the handle.
-
Be Cautious with Hot Liquids: Be aware that after this type of repair, the mug might be better suited for decorative purposes rather than for hot beverages, as the wire or twine might not withstand high temperatures.
-
Combine with Glue for Extra Strength: Using a bit of epoxy glue before wrapping the handle can give additional stability to the repair.

Use a Soldering Method
Using a soldering method with specialized ceramic filler is best for fixing a mug's handle. It gives a repair that lasts longer than basic glues. This way not only makes the mug strong again but also looks better. If you sand and paint after soldering, the mug will look like new. It's a great way to fix your favorite mug's handle and keep it looking good.
Materials Needed
-
Ceramic Filler: A specialized filler or adhesive designed for ceramic repair.
-
Fine Sandpaper: To smooth the repaired area.
-
Clean Cloths: For cleaning the mug and wiping off excess filler.
-
Protective Gloves: To protect your hands during the repair process.
-
Paints (Optional): Ceramic or enamel paint that matches your mug, for touch-ups.
-
Small Brushes: For applying paint.
Instructions
-
Prepare the Broken Pieces: Clean the broken edges of the mug and handle thoroughly with a cloth. Ensure there's no dust, grease, or old adhesive.
-
Apply the Ceramic Filler: Wearing gloves, apply the ceramic filler to one of the broken edges. Follow the manufacturer’s instructions for mixing and applying the filler.
-
Attach the Handle: Carefully align the handle to the breakpoint on the mug. Press it firmly to ensure a good bond.
-
Allow to Set: Let the filler set and cure as per the instructions. This could take several hours to a day.
-
Sand the Repaired Area: Once the filler is completely set, gently sand the area to smooth out any rough edges or excess material. Be careful not to damage the surrounding areas of the mug.
-
Clean the Mug: Wipe the mug with a clean cloth to remove any dust from the sanding.
-
Paint the Repaired Area (Optional): If the repair is visible, you can use ceramic or enamel paints to touch up the area. Match the color as closely as possible to your mug. Use small brushes for precision.
Tips for Success
-
Select the Right Filler: Ensure the filler is appropriate for ceramic materials and can handle the temperatures if the mug is used for hot drinks.
-
Be Precise: Work carefully and precisely, especially when applying and sanding the filler.
-
Patience is Key: Allow ample time for the filler to set completely for a strong bond.
-
Post-Repair Care: Handle the repaired mug gently, even after a successful fix, as it might not be as strong as an unbroken mug.

Use Soldering Method to fix mug's handle
Conclusion
In conclusion, fixing a broken mug handle can be a rewarding DIY project, offering several methods to suit different levels of breakage and repair skills. Whether you choose a quick fix with super glue, a creative approach with wire or twine, a more durable solution using ceramic filler, or even professional repair, each method provides a way to bring your cherished mug back to life. Remember, the key is to choose the right technique for your specific situation and handle the repaired mug with care. With a little patience and precision, you can enjoy your favorite mug again, full of warm drinks and memories.
You may also like:
👍 How to Fix Chipped Mug: DIY Repair Techniques and Tips.
👍 Protect Your Favorite Mugs: How to Pack Coffee Cups Properly.
👍 Coffee Cups Recycling: A Sustainable Approach to Waste Reduction.


Leave a comment