


Fixing a chipped mug is simpler than it seems. Our guide, 'How to Fix a Chipped Mug in a Few Easy Steps,' offers effective solutions. It walks you through a straightforward process, ensuring your cherished mug looks as good as new. With the right tools and techniques, repairing a chip becomes a hassle-free task. Whether it's a small nick or a larger chip, our guide helps restore your mug's former glory, making it safe for your favorite beverages again.
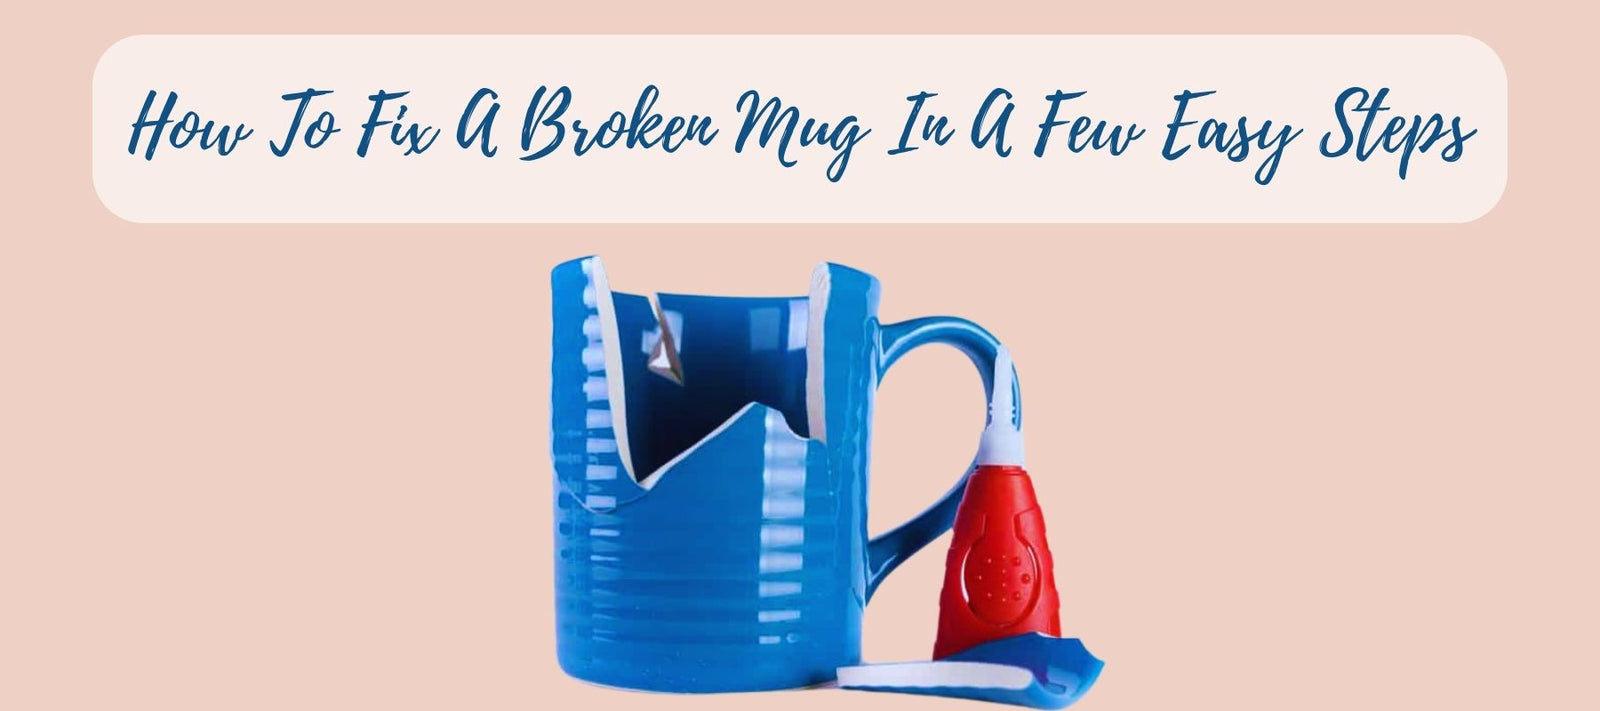
How To Fix A Broken Mug Handle Or Broken Mug?
Required Tools
- Hand Gloves
- Dry Cloth
- Small Bucket
- Hardener
- Masking Tape
- Paintbrush
- Epoxy
- Paper Bowl
How To Do
Step 1: Collect the mug pieces
To assemble the broken ceramic coffee cup, first gather and assemble all the pieces. Set all the pieces aside in a safe place.
Step 2: Assembling the broken mug
In a bucket of sand, place the main body of the ceramic coffee mug. In this bucket, you should also place all the parts that need to be repaired. The ceramic mug will be secured in this way, making it easier for you to work on the project. Using a brush, clean all the debris and dirt from the broken edges of the mug.
Step 3: Epoxy Solution
Prepare an epoxy solution by mixing epoxy and hardener equally. You can use a dual syringe applicator to distribute equal amounts of both materials. Mix the epoxy and hardener thoroughly in a small paper bowl.
Step 4: Using the epoxy mixer
It's now time to apply the epoxy mixture to the main body's edges. The mixture can be applied delicately to a toothpick in all these scenarios.
Step 5: Mug repair
It is necessary to set the broken pieces of the ceramic mug into the main body. To make these pieces stable, you must hold them for at least 30 to 40 seconds.
Step 6: Make it Dry
Let the epoxy mixture settle down completely on a plain surface for at least 15 minutes.
👍 Explore more: Step-by-Step Guide: How to Fix a Broken Mug Handle
How To Fix A Chipped Mug?
Required Tools
- Epoxy adhesive or food-safe ceramic adhesive
- Fine-grit sandpaper
- Cotton swabs or small brush
- Disposable gloves (optional)
- Nail polish remover or rubbing alcohol (if needed)

You can use epoxy adhesive to fix chipped mugs
How To Do
Step 1: Clean the chipped area
Step 2: Prepare the surfaces
Use fine-grit sandpaper to gently roughen the chipped edges of the mug and the corresponding chipped piece.
Step 3: Apply the adhesive
Follow the instructions provided with the chosen adhesive. If using epoxy adhesive, mix the required amounts of resin and hardener according to the instructions. Use a small brush or cotton swab to apply a thin, even layer of adhesive to the chipped edges of the mug and the corresponding chipped piece.
Step 4: Align and bond the pieces
Step 5: Clean up excess adhesive
Step 6: Final touch-ups (optional)
Once the adhesive has completely cured or dried, you can further refine the appearance of the repair if desired. Use fine-grit sandpaper to carefully smooth any rough edges or excess adhesive. Clean the mug again to remove any dust or debris from sanding.

You can repair your broken mugs in some easy steps
How To Fix A Crack Mug?
Required Tools
- Epoxy Solution
- Paper Plate
- Toothpick
- Dry Cloth
- Razor Blade
- Hardener

Follow some simple steps, and you can fix your crack mugs perfectly
How To Do
Step 1: Locating the crack
Step 2: Epoxy solution mixing
Step 3: Smooth the cracked edge
It's now time to widen the cracked edge. Make the crack a little wider by using a razor blade. With your fingers, gently forward the blade straight down while holding it tightly. We are opening the crack to get the adhesive inside.
Step 4: Epoxy solution application
Now that you've made the epoxy solution, it's time to apply it to the crack with a toothpick.
Step 5: Wrapping the Cracked Area
Using a rubber band, wrap the mug's body. By doing so, you will be able to hold the edges of the crack together tightly.
Step 6: Allow the epoxy solution to dry
After you've finished fixing the ceramic mug, place it on a flat surface. Wait until the epoxy has cured completely before using the coffee mug.
Why Do Ceramic Mugs Crack, Chips, or Broken?
Ceramic mugs can crack, chip, or break for the following common reasons:
Thermal Shock
Ceramic mugs can experience thermal shock when exposed to sudden and extreme temperature changes. For example, pouring hot liquid into a cold mug or placing a hot mug directly on a cold surface can cause the ceramic to expand or contract rapidly, leading to cracks or breakage.
Physical Impact
Dropping or knocking a ceramic mug against a hard surface can cause chips, cracks, or even complete breakage. Ceramic is a brittle material, and it may not withstand significant physical force.
Poor Quality or Craftsmanship
Mugs made with lower-quality ceramic or poor manufacturing techniques may be more prone to cracking, chipping, or breaking. Insufficient firing or improper glazing can weaken the structure of the mug.

Buying poor-quality mugs can cause them to be easily damaged
Wear and Tear
Over time, frequent use, cleaning, and handling can weaken the ceramic material of a mug. This can lead to small cracks or chips that may eventually worsen or cause the mug to break.
How To Repurse A Broken Mug If I Can't Fix?
If your mug is broken beyond repair, there are a few alternative ways you can repurpose it instead of just throwing it away:
Pencil Or Pen Holder
Clean the broken mug and use it as a container to store pens, pencils, markers, or other office supplies. You can place it on your desk or in a designated drawer to keep your stationery organized.
Plant Pot
If the broken mug has a drainage hole, or you can easily create one, you can repurpose it as a small plant pot. Fill it with potting soil and place a small plant or succulent inside. It can make a cute and unique decorative item for your home or office.

You can reuse broken mug as a creative item to plant trees
Candle Holder
Fill the broken mug with melted candle wax and insert a wick. Once the wax hardens, you'll have a homemade candle holder. You can even customize it by adding essential oils or dried flowers to the wax before pouring it into the mug.
Decorative Mosaic
Break the mug into smaller pieces and use them to create a decorative mosaic. Glue the pieces onto a surface such as a picture frame, mirror, or flower pot to create a unique artwork. You can also use additional mosaic tiles or beads to enhance the design.
Art Project
If you enjoy crafting or DIY projects, consider using the broken mug pieces in various art projects. For instance, you can create mixed media art, and jewelry, or even incorporate the pieces into a mosaic sculpture.
What Are Additional Tips And Tricks?
Here are some additional tips and tricks to keep in mind when dealing with chipped or broken ceramic mugs:
Safety First
When handling broken ceramic, it's important to take precautions to avoid injury. Wear gloves to protect your hands from sharp edges, and consider using protective eyewear if necessary.
Test Adhesive On A Small Area
Before applying adhesive to the chipped areas of your mug, it's a good idea to test it on a small, inconspicuous area first. This helps ensure that the adhesive bonds properly and does not affect the appearance or safety of the mug.

Test the adhesive on a small area on your mugs
Use Food-Safe Adhesive Near The Rim
If the chipped area of your mug is near the rim or where your lips touch the mug, make sure to use a food-safe adhesive. This ensures that the repaired mug remains safe for use with food and beverages.
Don't Overload The Adhesive
When applying the adhesive, be cautious not to use too much. Excess adhesive can squeeze out when bonding the pieces together and create a messy appearance. If excess adhesive does occur, clean it up before it dries.
Consider Professional Help If Needed
If you are unsure about your ability to repair the mug or if the damage is extensive, it may be best to consult a professional ceramics restorer or consider replacing the mug altogether. They have the expertise and specialized equipment needed to achieve a high-quality repair.
How Can You Avoid Cracking Your New Mug?
To help avoid cracking your new mug, here are some tips to keep in mind:
Temperature Precautions
Avoid exposing your ceramic mug to sudden and extreme temperature changes. For example, do not pour boiling liquids directly into a cold mug or place a hot mug on a cold surface. Gradual temperature changes are less likely to cause stress on the ceramic material and reduce the risk of cracking.
Preheat or Pre-cool
If you need to use your mug for hot or cold beverages, consider preheating or pre-cooling the mug before use. This can be done by rinsing the mug with hot or cold water for a brief period to help gradually adjust its temperature.
Handle With Care
Be mindful of how you handle your mug. Avoid dropping it or knocking it against hard surfaces, as this can lead to cracks or chips. Hold the mug securely with both hands, especially if it's filled with hot liquids, to ensure a firm grip.
Avoid Stacking Heavy Items
When storing your mug, try to avoid stacking heavy items on top of it. The weight of other objects can put unnecessary pressure on the mug, increasing the risk of damage.
Choose Quality Materials
Look for mugs made with high-quality ceramic and sturdy craftsmanship. A well-made mug with a solid structure is less likely to crack or break under normal use.

Choose high-quality mugs to avoid cracking
👍 Watch more: Choosing the Perfect Coffee Cup: What Are the Best Mug Materials?
Be Mindful Of The Handle
The mug handle shape is often a vulnerable area prone to stress. When picking up or using the mug, try not to put excessive pressure on the handle. Hold the mug by the body to minimize stress on the handle and reduce the risk of it breaking off.
How To Clean A Mug?
To maintain your mug's cleanliness, here's a step-by-step guide on how to clean a mug:
- Rinse with warm water
- Apply a small amount of mild dish soap to a sponge or dishcloth to scrub the inside and outside of the mug
- Once you have scrubbed the mug, rinse it thoroughly with warm water to remove any soap residue.
- If there are any stubborn stains, you can try using a paste of baking soda and water.
- After rinsing, you can either let the mug air dry upside down on a dish rack or use a clean towel to dry it immediately.
Explore more:
👍 Coffee Lover's Guide: How to Clean a Coffee Mug Effectively.
👍 Say Goodbye to Coffee Odors: How to Get the Coffee Smell Out of the Cup?
👍 How to Take Care of Your Tea and Coffee Cups? Top Tips Inside!
What Are Faqs?
What Is The Best Type Of Glue For Fixing Ceramic Mugs?
The type of glue that is best for fixing a ceramic mug is an epoxy adhesive specifically designed for ceramic or porcelain materials. These types of adhesives provide a strong and durable bond that can withstand the stress of everyday use.
Is It Still Safe To Drink From A Mug That Has Been Repaired With Glue?
A mug that has been repaired with glue can still be used for drinking, as long as the adhesive used is food-safe. Make sure to read the product labels to ensure it is safe for contact with food and beverages.
Before Using The Mug, How Long Should I Wait For The Glue To Dry?
The drying time for the glue will depend on the specific brand and type of adhesive used. It's important to follow the instructions provided with the adhesive to determine the required drying or curing time. Generally, it is recommended to wait at least 24 hours for the glue to fully dry and cure before using the mug.
Are Repaired Mugs Safe For Microwave Use Or Dishwasher Use?
Whether a repaired mug can be safely used in the microwave or dishwasher depends on the specific adhesive used. Some epoxy adhesives are microwave-safe and dishwasher-safe, while others are not. Check the product labels or contact the manufacturer to determine the recommended usage guidelines for the adhesive.
👍 Watch more: Are Mugs Microwave Safe? Important Tips for Safe Heating.
If The Color Of The Repair Does Not Match The Mug, What Should I Do?
If the color of the repair does not match the original mug, you can try using ceramic paint or a food-safe marker to color or blend in the repaired area. Be sure to choose paint or markers that are suitable for use on ceramics and follow the manufacturer's instructions.
If My Mug Has Completely Shattered, Can I Fix It?
If a mug has completely shattered into many pieces, it can be challenging to repair. In most cases, it may be best to consider replacing the mug. However, if you have a sentimental attachment to the mug or it is a valuable piece, you may consult a professional ceramics restorer who may be able to restore it using advanced techniques.
Do Repaired Mugs Pose Any Health Risks?
As long as a mug has been properly repaired with a food-safe adhesive, there should not be any significant health concerns with using the repaired mug. However, it is important to ensure that the adhesive used is labeled as food-safe and follows the usage guidelines provided by the manufacturer.
In What Ways Can I Remove Old Glue From Previous Repair Attempts?
To remove old glue from a previous repair attempt, you can try using acetone or nail polish remover that contains acetone.
Apply the acetone to a cloth or cotton ball and gently rub the glue until it starts to dissolve. Be careful not to scrub too hard to avoid damaging the mug's surface.
After removing the glue, wash and dry the mug thoroughly before attempting a new repair.
Conclusion
In conclusion, fixing a broken mug is a task that anyone can successfully do with a little patience and the right tools. Following the simple steps outlined in this guide, you can restore your broken mug to its former functionality and bring it back into daily use.
So don't hesitate to gather broken mugs and give them the care and attention they deserve!
You may also like:
👍 Sustainable Sips: The Importance of Coffee Cup Recycling.
👍 Crafting Creativity: How to Make Personalized Mugs at Home.
👍 Get Creative: How to Decorate White Coffee Mugs with Style.


Leave a comment