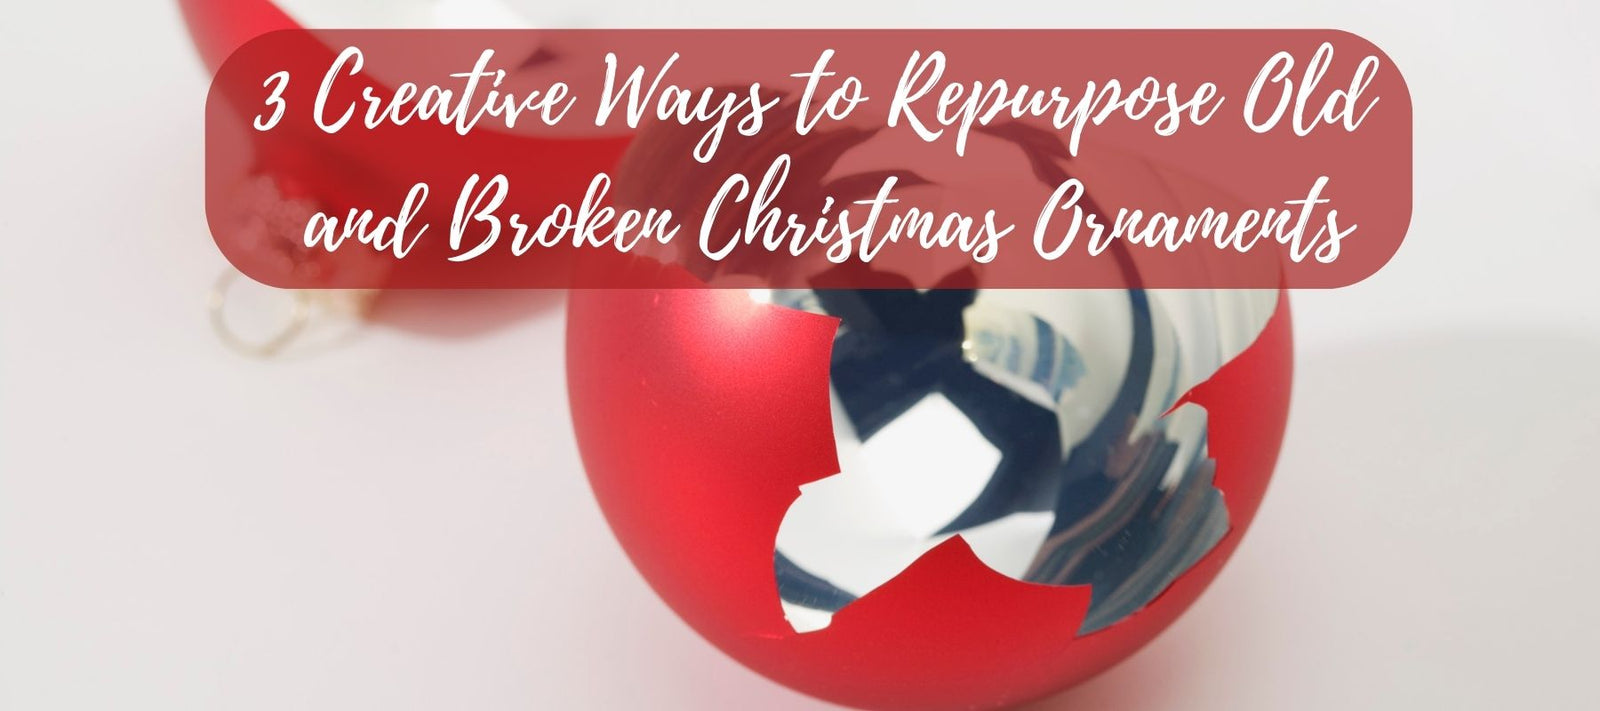
The holiday season often brings joy and decorations, but what happens when you find broken Christmas ornaments in your storage boxes? Instead of throwing them away, consider these 15 creative ideas to repurpose Christmas ornaments. From upcycled Christmas decorations to functional household items, the possibilities are endless.
Create Mosaic Art from Broken or Old Ornaments
Mosaic art is a timeless form of creative expression. It's also a brilliant way to repurpose broken or old Christmas ornaments. Transform those shattered or outdated pieces into a captivating work of art with these steps.
Materials Needed
- Broken or old Christmas ornaments
- Clear glass or plastic ornaments with removable tops
- Strong adhesive (e.g., epoxy or super glue)
- Tweezers or small pliers
- Gloves
- Safety goggles
- Ribbon or string for hanging
- Optional: Glitter or paint for added flair
Safety Precautions
Before starting, make sure to put on safety goggles and gloves to protect yourself from sharp edges. Always work in a well-ventilated area and keep all materials out of reach of children and pets.
Step-by-Step Guide
Prepare the Clear Ornaments
Remove the top of the clear glass or plastic ornaments and set them aside. Make sure the inside is clean and dry.
Sort the Broken Pieces
Sort the broken or old ornaments by color, size, and shape. This will make it easier to create a visually pleasing design.
Plan Your Design
Before you start gluing, plan out how you want the broken pieces to appear on the clear ornament. You can lay them out on a flat surface in the shape of the ornament to get an idea.
Apply Adhesive
Using a strong adhesive, apply a small amount to the back of each broken ornament piece. It's advisable to work in small sections to prevent the glue from drying out.
Place the Pieces
Carefully place each glued piece onto the clear ornament using tweezers or small pliers. Press firmly to make sure each piece adheres well. Continue this process until the entire ornament is covered as per your design.
Allow to Dry
Let the adhesive dry according to the manufacturer's instructions. Make sure the ornament is placed in a position where the pieces won't slide off as the glue dries.
Add Final Touches
Once the adhesive is dry, you can add any final touches like glitter or paint. If you used a clear adhesive, you might not need to do anything more.
Replace the Top and Add Ribbon
Carefully replace the top of the clear ornament. Thread a ribbon or string through the loop for hanging.

Create Mosaic Art from Broken or Old Ornaments
Make Broken Glass Glitter Ornaments
Broken glass can be transformed into magical Broken Glass Glitter Ornaments. Here's how to create these sparkling decorations.
Materials Needed
- Broken glass from old or damaged Christmas ornaments
- Clear glass or plastic ornaments with removable tops
- Strong adhesive (e.g., Mod Podge or epoxy)
- Fine glitter in colors of your choice
- Tweezers or small pliers
- Gloves
- Safety goggles
- Small funnel or paper rolled into a funnel shape
- Ribbon or string for hanging
Safety Precautions
Wear safety goggles and gloves, and work in a well-ventilated area.
Step-by-Step Guide
Prepare the Clear Ornaments
Remove the top of the clear glass or plastic ornaments and set them aside. Ensure the inside is clean and dry.
Sort the Broken Glass
Sort the broken glass pieces by size. You'll want a variety of sizes to fill different areas of the ornament.
Add the Broken Glass
Using tweezers or small pliers, carefully place the broken glass pieces into the ornament. You can also pour them in if they are small enough. Try to distribute the sizes evenly for a more interesting texture.
Add Glitter
Using a small funnel or a piece of paper rolled into a funnel shape, pour fine glitter into the ornament. The glitter will stick to the adhesive and fill in the gaps between the broken glass pieces. Shake the ornament gently to distribute the glitter evenly.
Seal and Dry
Replace the top of the clear ornament carefully. Allow the adhesive to dry fully, according to the manufacturer's instructions.
Add Ribbon or String
Once the ornament is dry, thread a ribbon or string through the loop on the top for hanging.

Create Mosaic Art from Broken or Old Ornaments
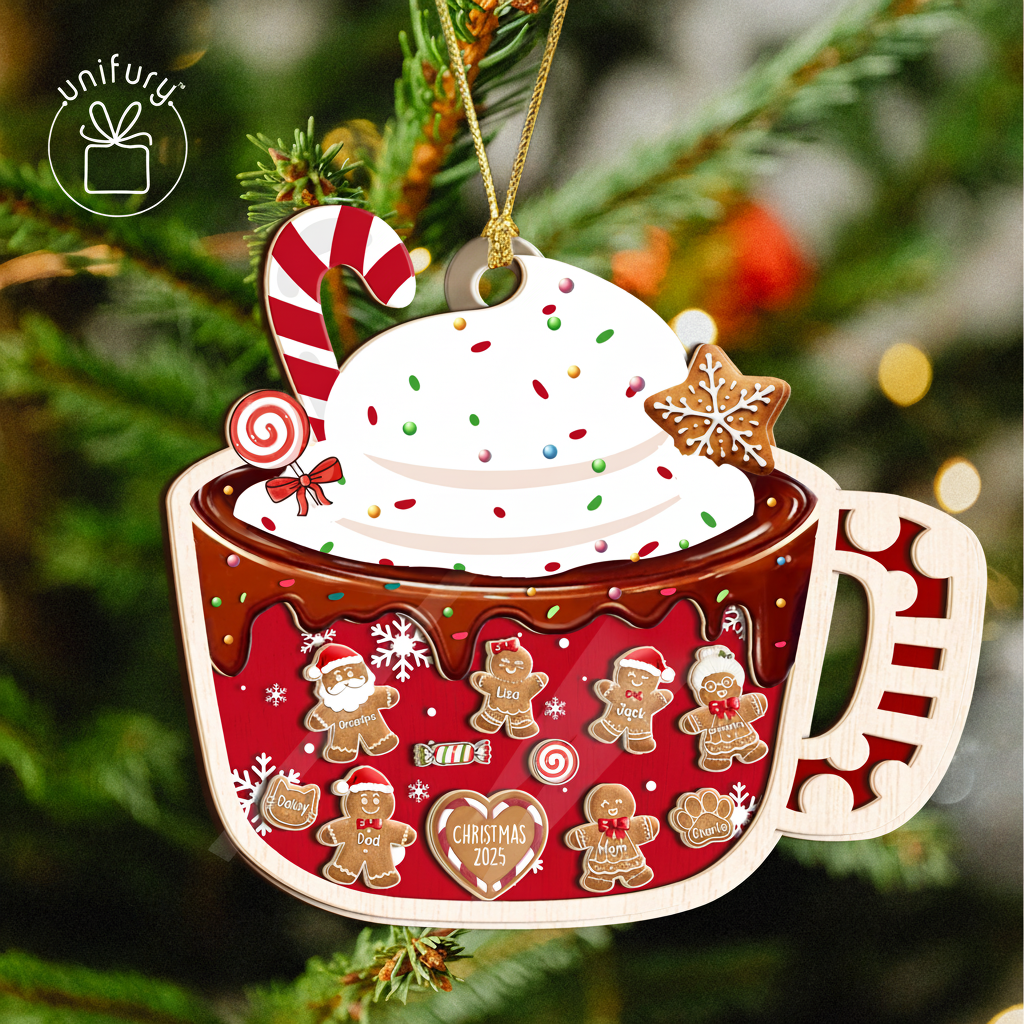
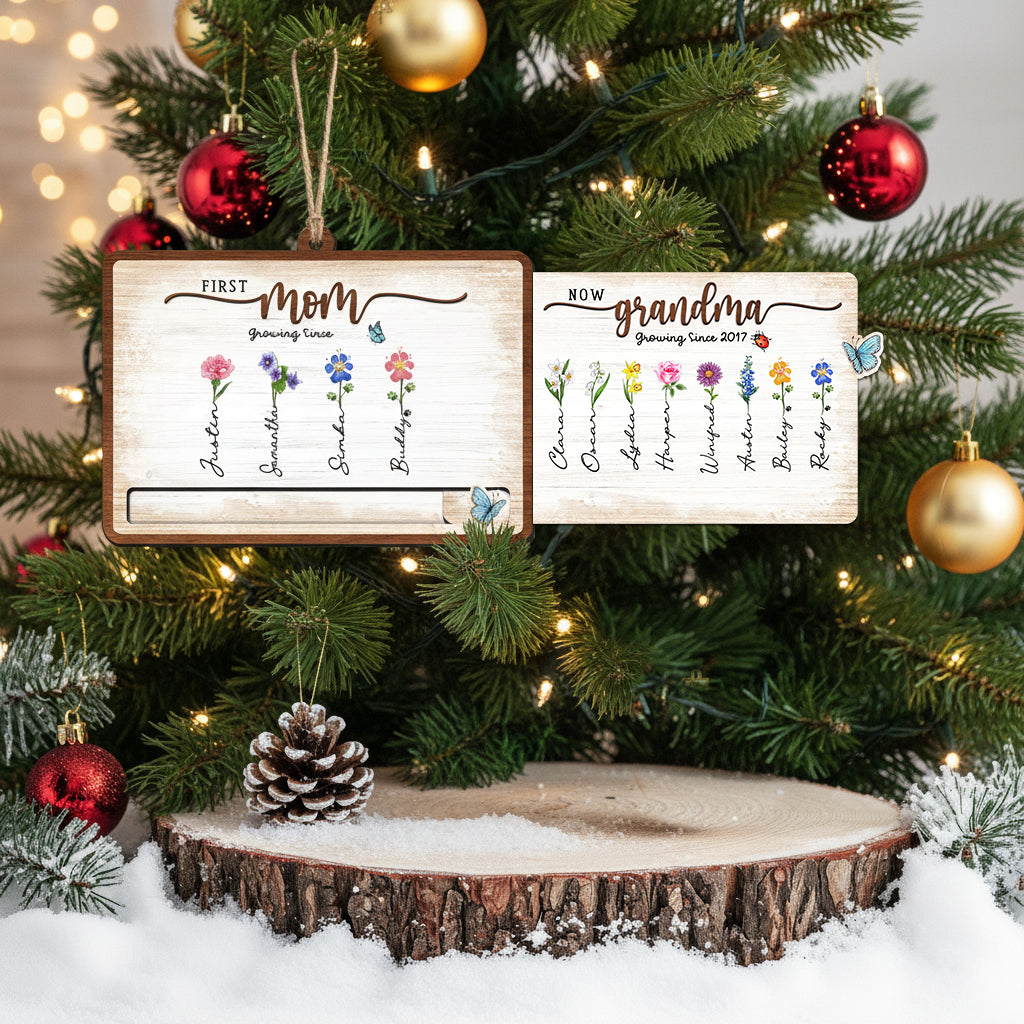
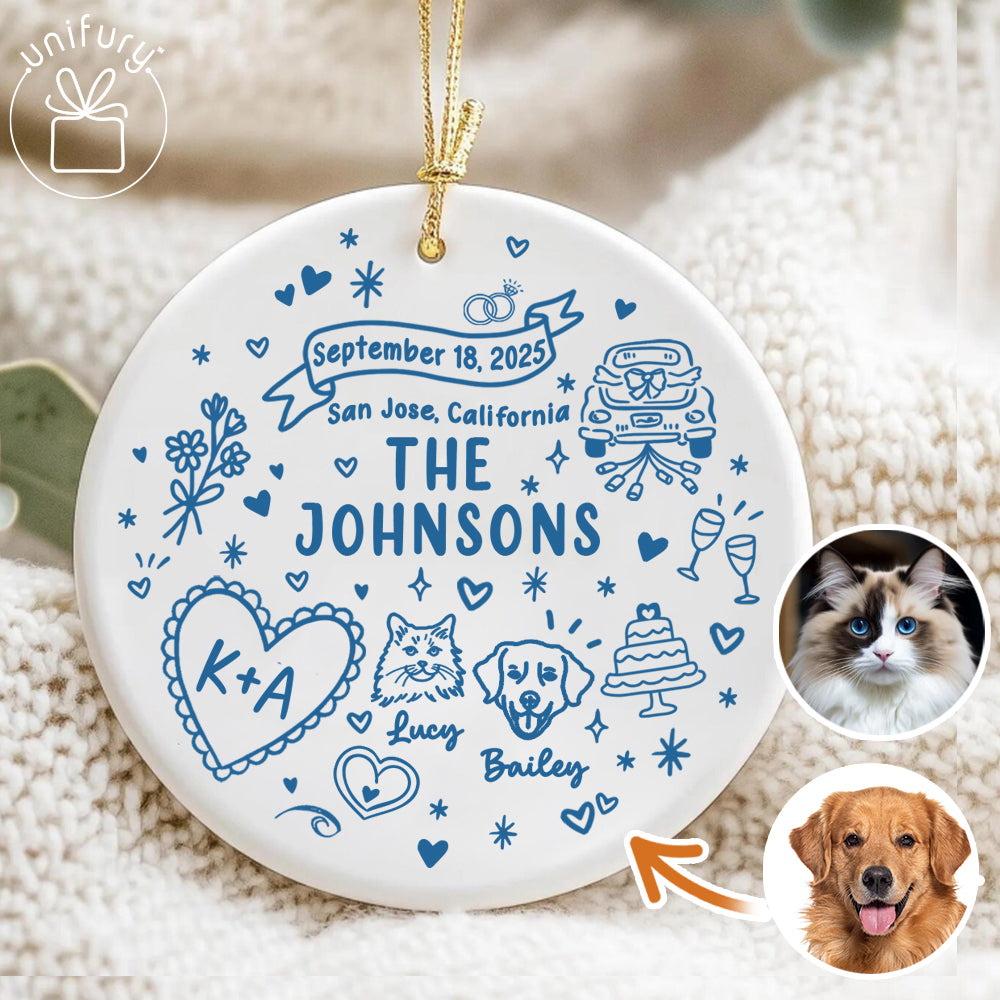
Make a Ladder Artificial Christmas Tree from Personalized Ornaments
Add a rustic touch to your holiday decor by creating a ladder artificial Christmas tree adorned with personalized ornaments.
Materials Needed
- A wooden ladder (size depends on your space)
- Personalized ornaments (varying sizes and shapes)
- String lights
- Tree topper
- Hooks or ornament hangers
- Zip ties or floral wire
- Ribbon or tinsel (optional)
- Gloves
- Safety goggles
Safety Precautions
Before you begin, make sure to wear gloves and safety goggles to protect yourself from any sharp edges or splinters on the ladder. Always exercise caution when handling electrical lights.
Step-by-Step Guide
Prepare the Ladder
Place your wooden ladder in the location where you want your tree to be. Make sure it's stable and secure. If you wish, you can paint or decorate the ladder to match your holiday theme.
Add String Lights
Wrap string lights around the ladder, starting from the bottom and working your way to the top. Secure the lights with zip ties or floral wire as needed. Make sure the plug is accessible for turning the lights on and off.
Sort Your Personalized Ornaments
Organize your personalized ornaments by size, shape, and theme. This will help you decide how to place them on the ladder for the best visual impact.
Start Hanging Ornaments
Begin at the bottom of the ladder and work your way up. Use hooks or ornament hangers to attach each personalized ornament to the rungs or sides of the ladder. For added security, you can use zip ties or floral wire to ensure the ornaments stay in place.
Check for Balance
As you hang the ornaments, step back occasionally to check the overall balance and symmetry of the tree. Make adjustments as needed.
Add the Tree Topper
Once all the personalized ornaments are in place, add your chosen tree topper to the top of the ladder. Make sure it's securely attached.
Add Ribbon or Tinsel (Optional)
For added flair, you can weave some ribbon or tinsel through the ladder rungs, or even add a decorative tree skirt at the base.
Plug in the Lights
Finally, plug in the string lights and enjoy your personalized ladder Christmas tree!
Creating a ladder artificial Christmas tree adorned with personalized ornaments offers a unique and meaningful way to celebrate the holiday season. This project allows you to showcase ornaments that hold special memories while also adding a rustic touch to your holiday decor.

Make a Ladder Artificial Christmas Tree from Personalized Ornaments
Conclusion
So, the next time you're wondering what to do with old Christmas ornaments or find a broken ornament, remember that it's an opportunity to create something new. From how to decorate glass ornaments to upcycled Christmas decorations, these ideas offer a sustainable and creative way to celebrate the holiday season. Always exercise caution when handling broken glass or sharp edges, and wear protective gloves to ensure safety. Happy upcycling!







Leave a comment